First of all, I’m not a professional, so forgive me if I don’t have any specialized knowledge. or I describe something wrong.
Next idea, if someone has changed their heating pads, you can post a short block of information here (card model, which pads, etc.) so that other users can get some help or good information.
Since this can also end up in a kind of tutorial (length of the field reports) and then it is easier to find using the search function in the forum than in the collective threads where the topic is definitely lost, but if one of the mods wants to move the theme there, no problem.
There should also be no precise instructions on which thicknesses to use, just which ones I used.
It’s much more about the experiences and information about how it all went for the user, how cumbersome it was, what to look for with which model. Just an exchange of information 🙂
(RTX 3090 Tuf Gaming OC Asus card.)
After a good week of constantly screwing up, measuring and comparing, I came to an acceptable result.
What’s happening? Correct the “boiling” GDDR6X and whether it is worth changing the thermal pads. After much research and surfing the net. I have found that you need to check, measure and test yourself to get the correct deck thickness, strength and grade.
At first the graphics card was handled like a raw egg, but that quickly calmed down after a few glitches^^ but always cautious and calm even when the anger had evaporated^^.
Now for the actual information:
Used, I ordered several pads from 3-4 manufacturers (Gelid, Thermalright, Alphacool, Fujipoly (the original is now called “Alphacool”) in all possible thicknesses and designs (0.5mm – 3mm)
Tool I can recommend:
new thermal paste
Plastic spatula (included with some thermal paste)
Fine Screwdriver Set (You probably have it anyway as a hobbyist)
Feeler gauge 1.00mm long (to measure gaps and pads)
Sharp bladed knife, razor blade, cotton swabs (1 pack half empty after week ^^), Who likes a bit of isopropanol to clean.
Cutting mat as well as a pad to put the GPU on it
Now to the process:
The front is held together by a total of 10 screws, which you can carefully loosen (if you knew how long it took me the first time ^^) Pay attention to the cables so you don’t break them (fan cables, etc)
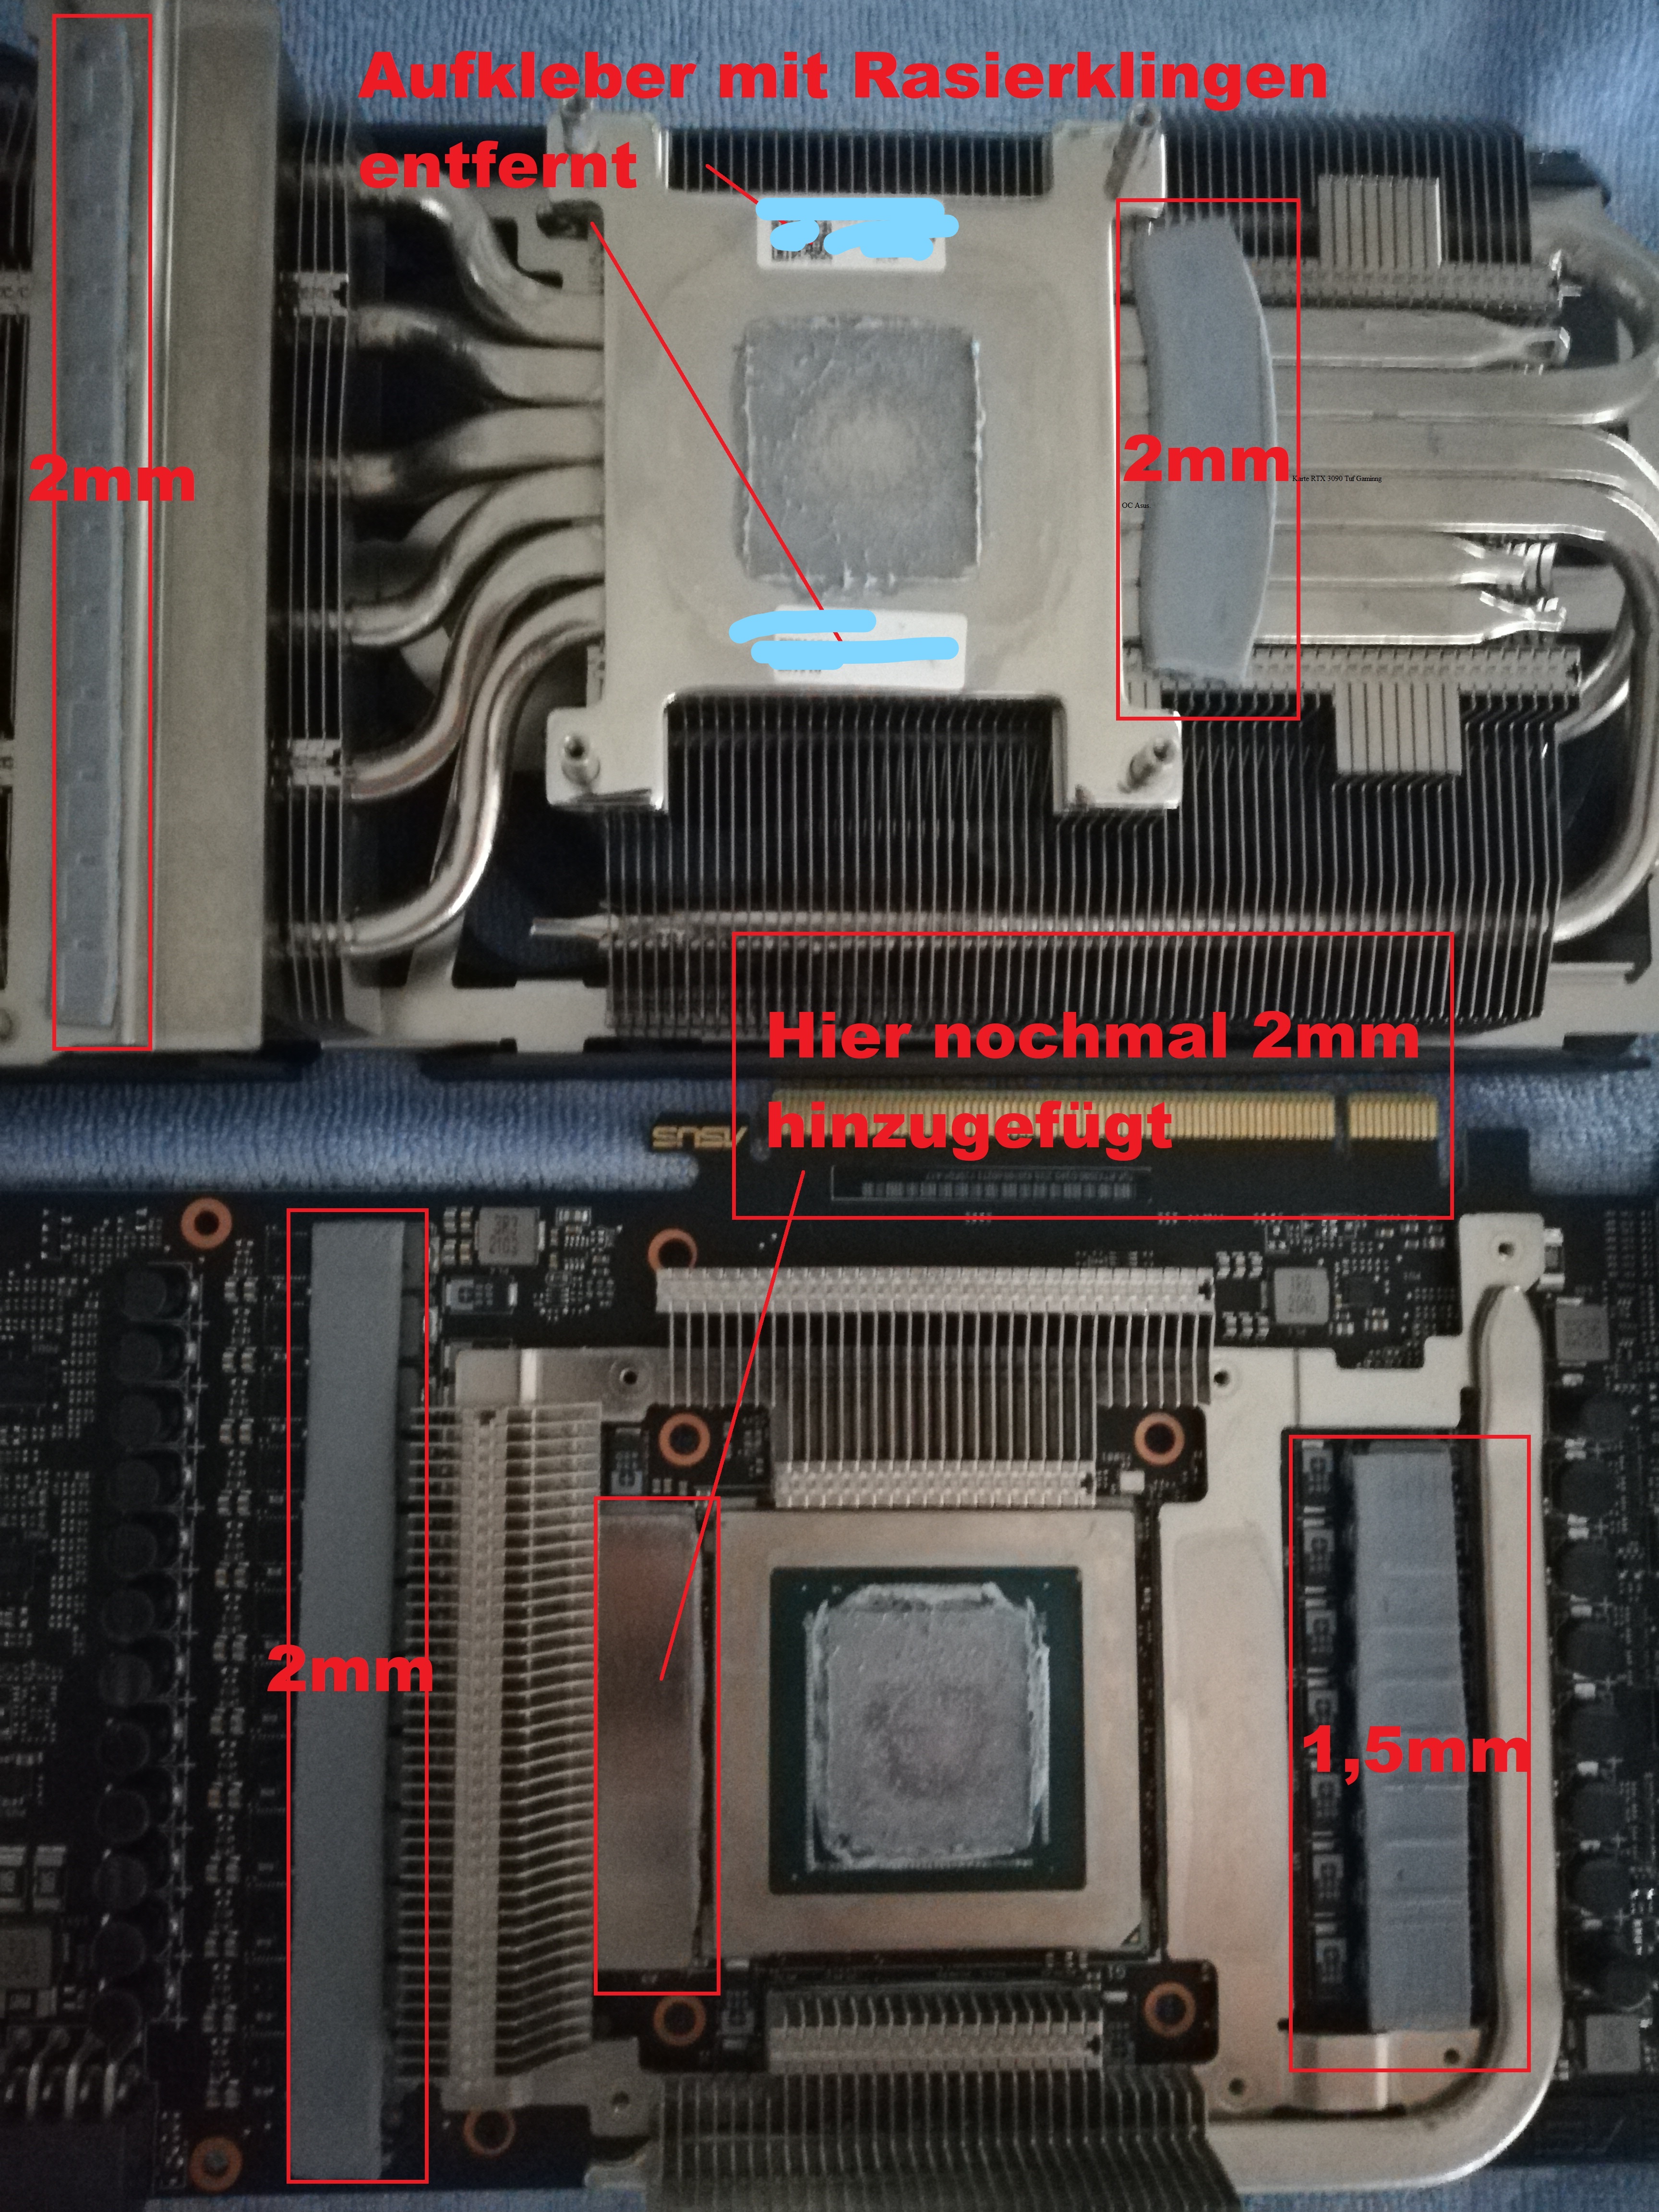
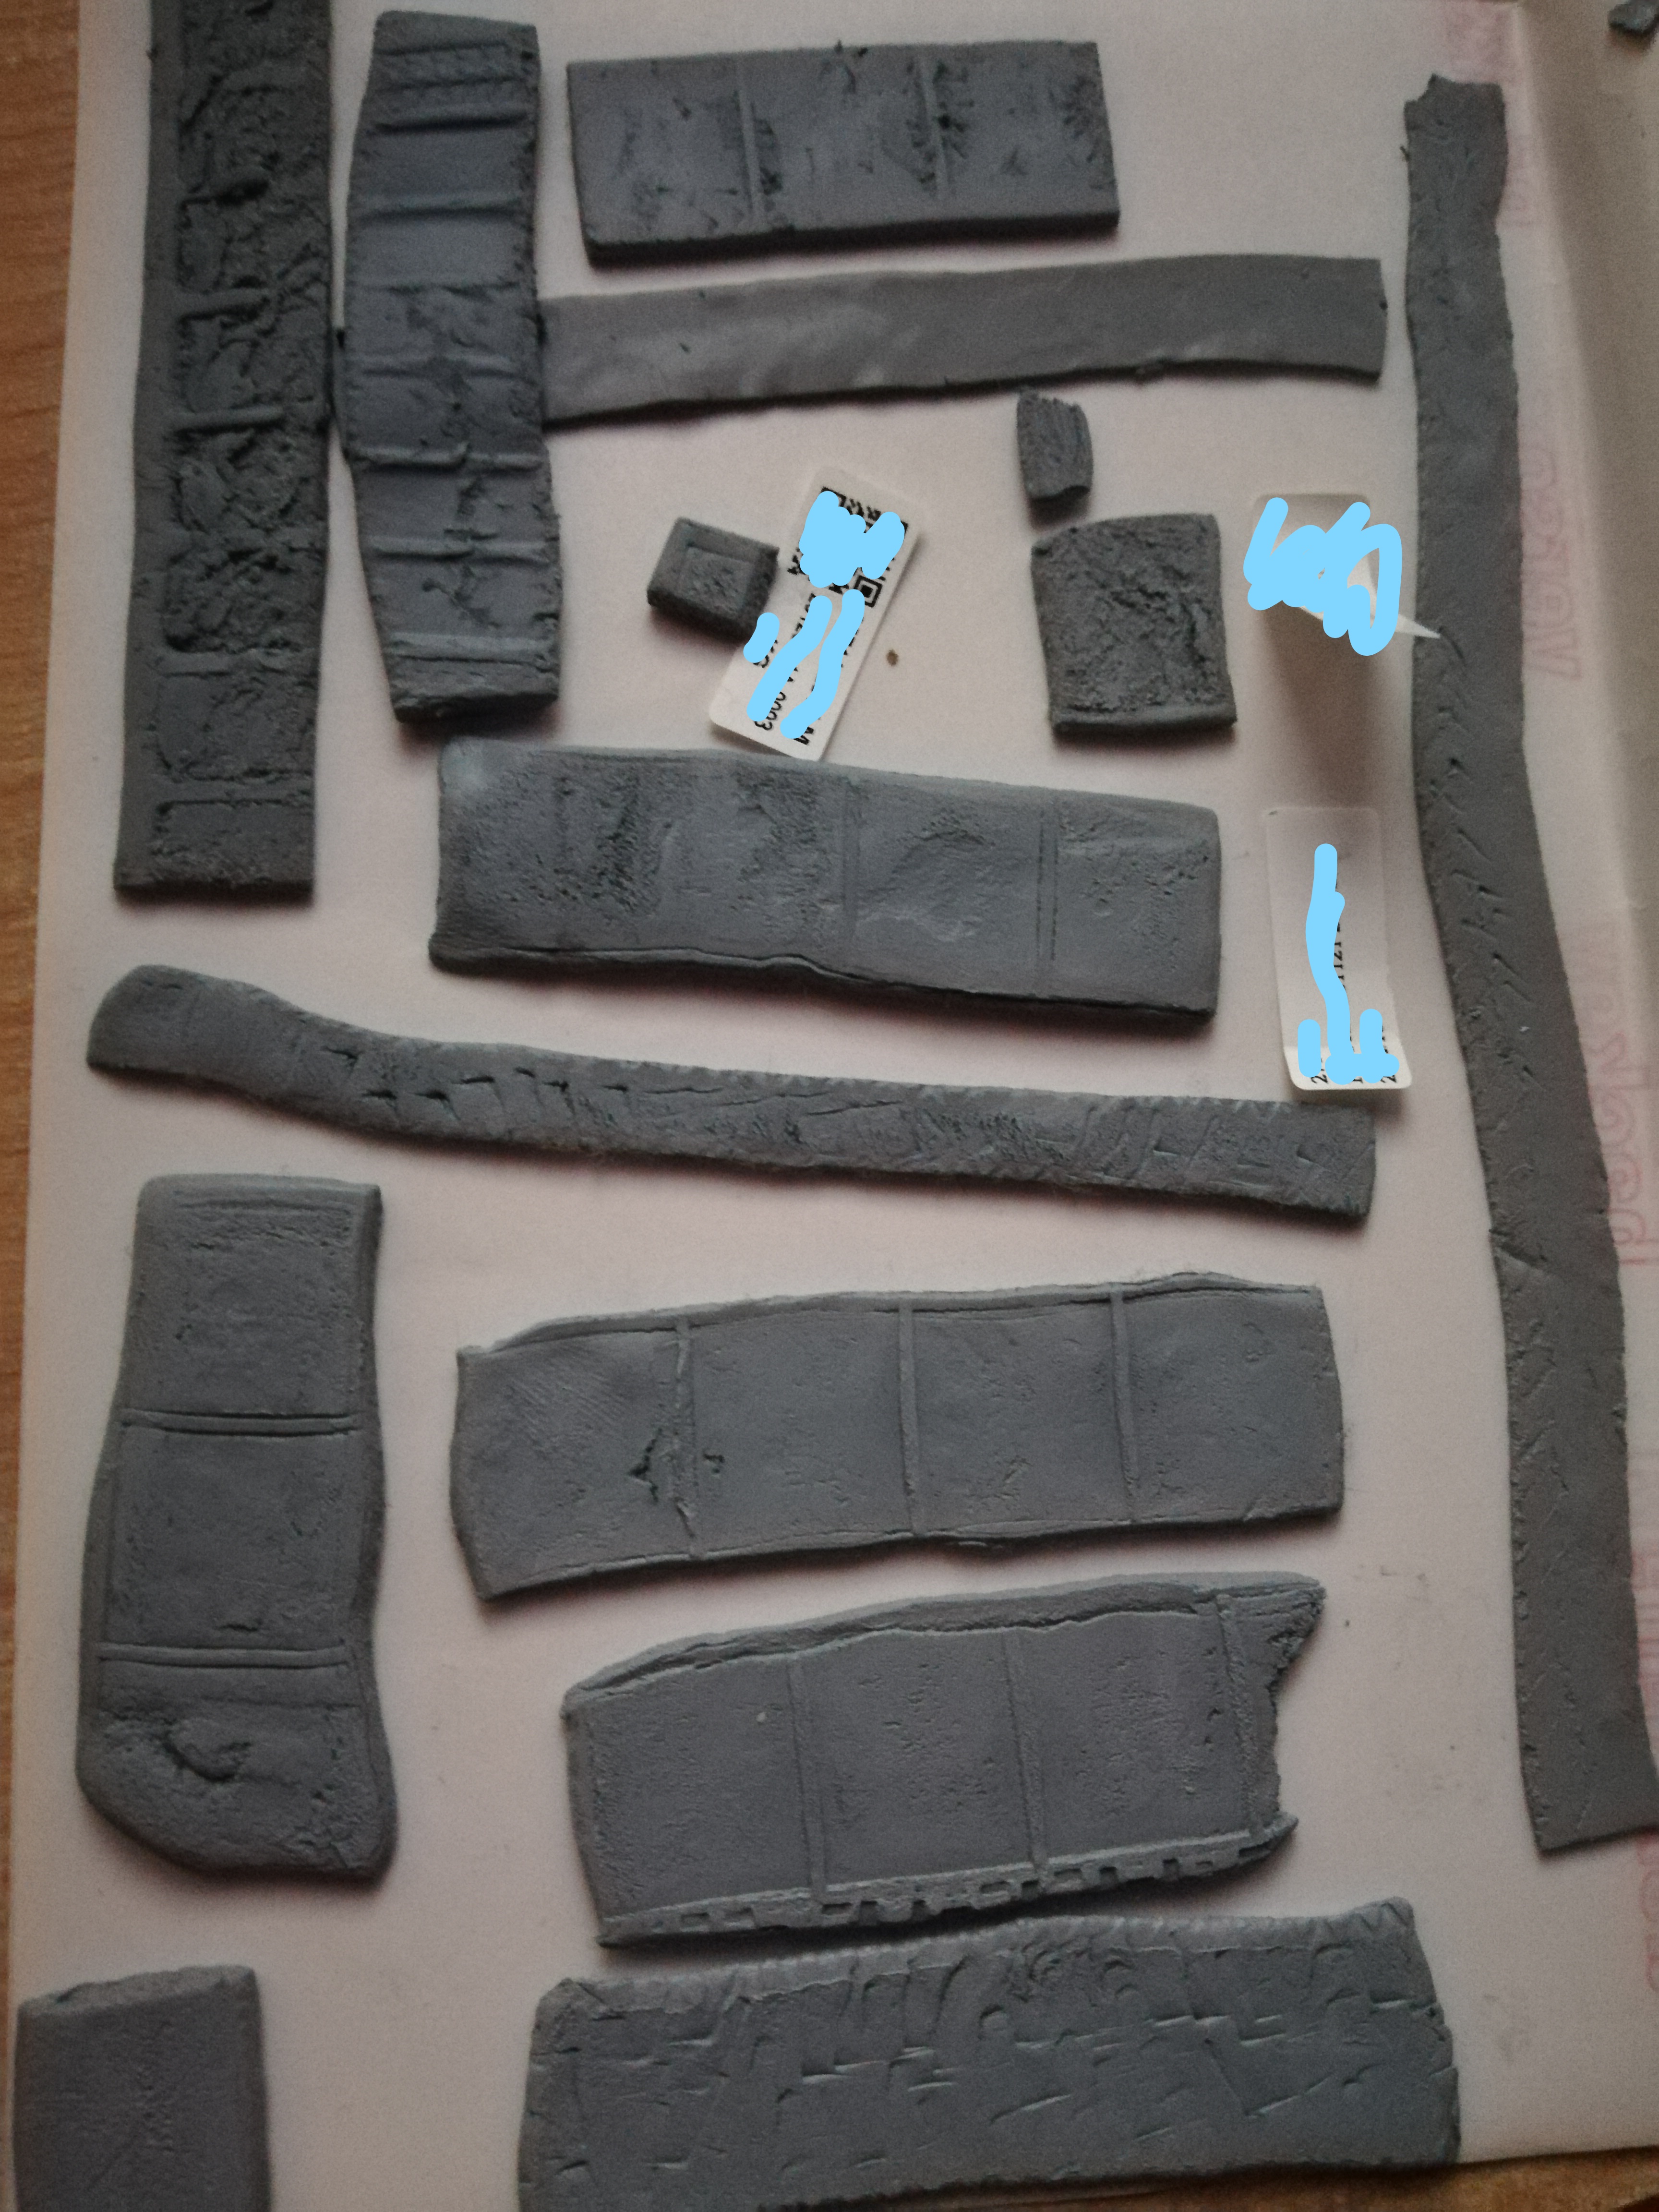
Then they laugh at you 4 pads, which I had already put very crooked (stock) for those who fear losing the guarantee, now the plastic spatula is used, with which I was able to carefully scrape all the pads without destroying them -> so you can label them again before sending them if necessary. But be very careful, these things break very quickly. Even if you don’t want to pick them up, I recommend: not with your fingers, just smear the material into each crack.
Lifting the small cooler carefully several times took a long time because the original pads are very soft and sticky, but with caution and patience it will give up after a while. Please be patient here, otherwise there will be a lot of residue on the components and you will not be able to reuse the pads in an emergency.
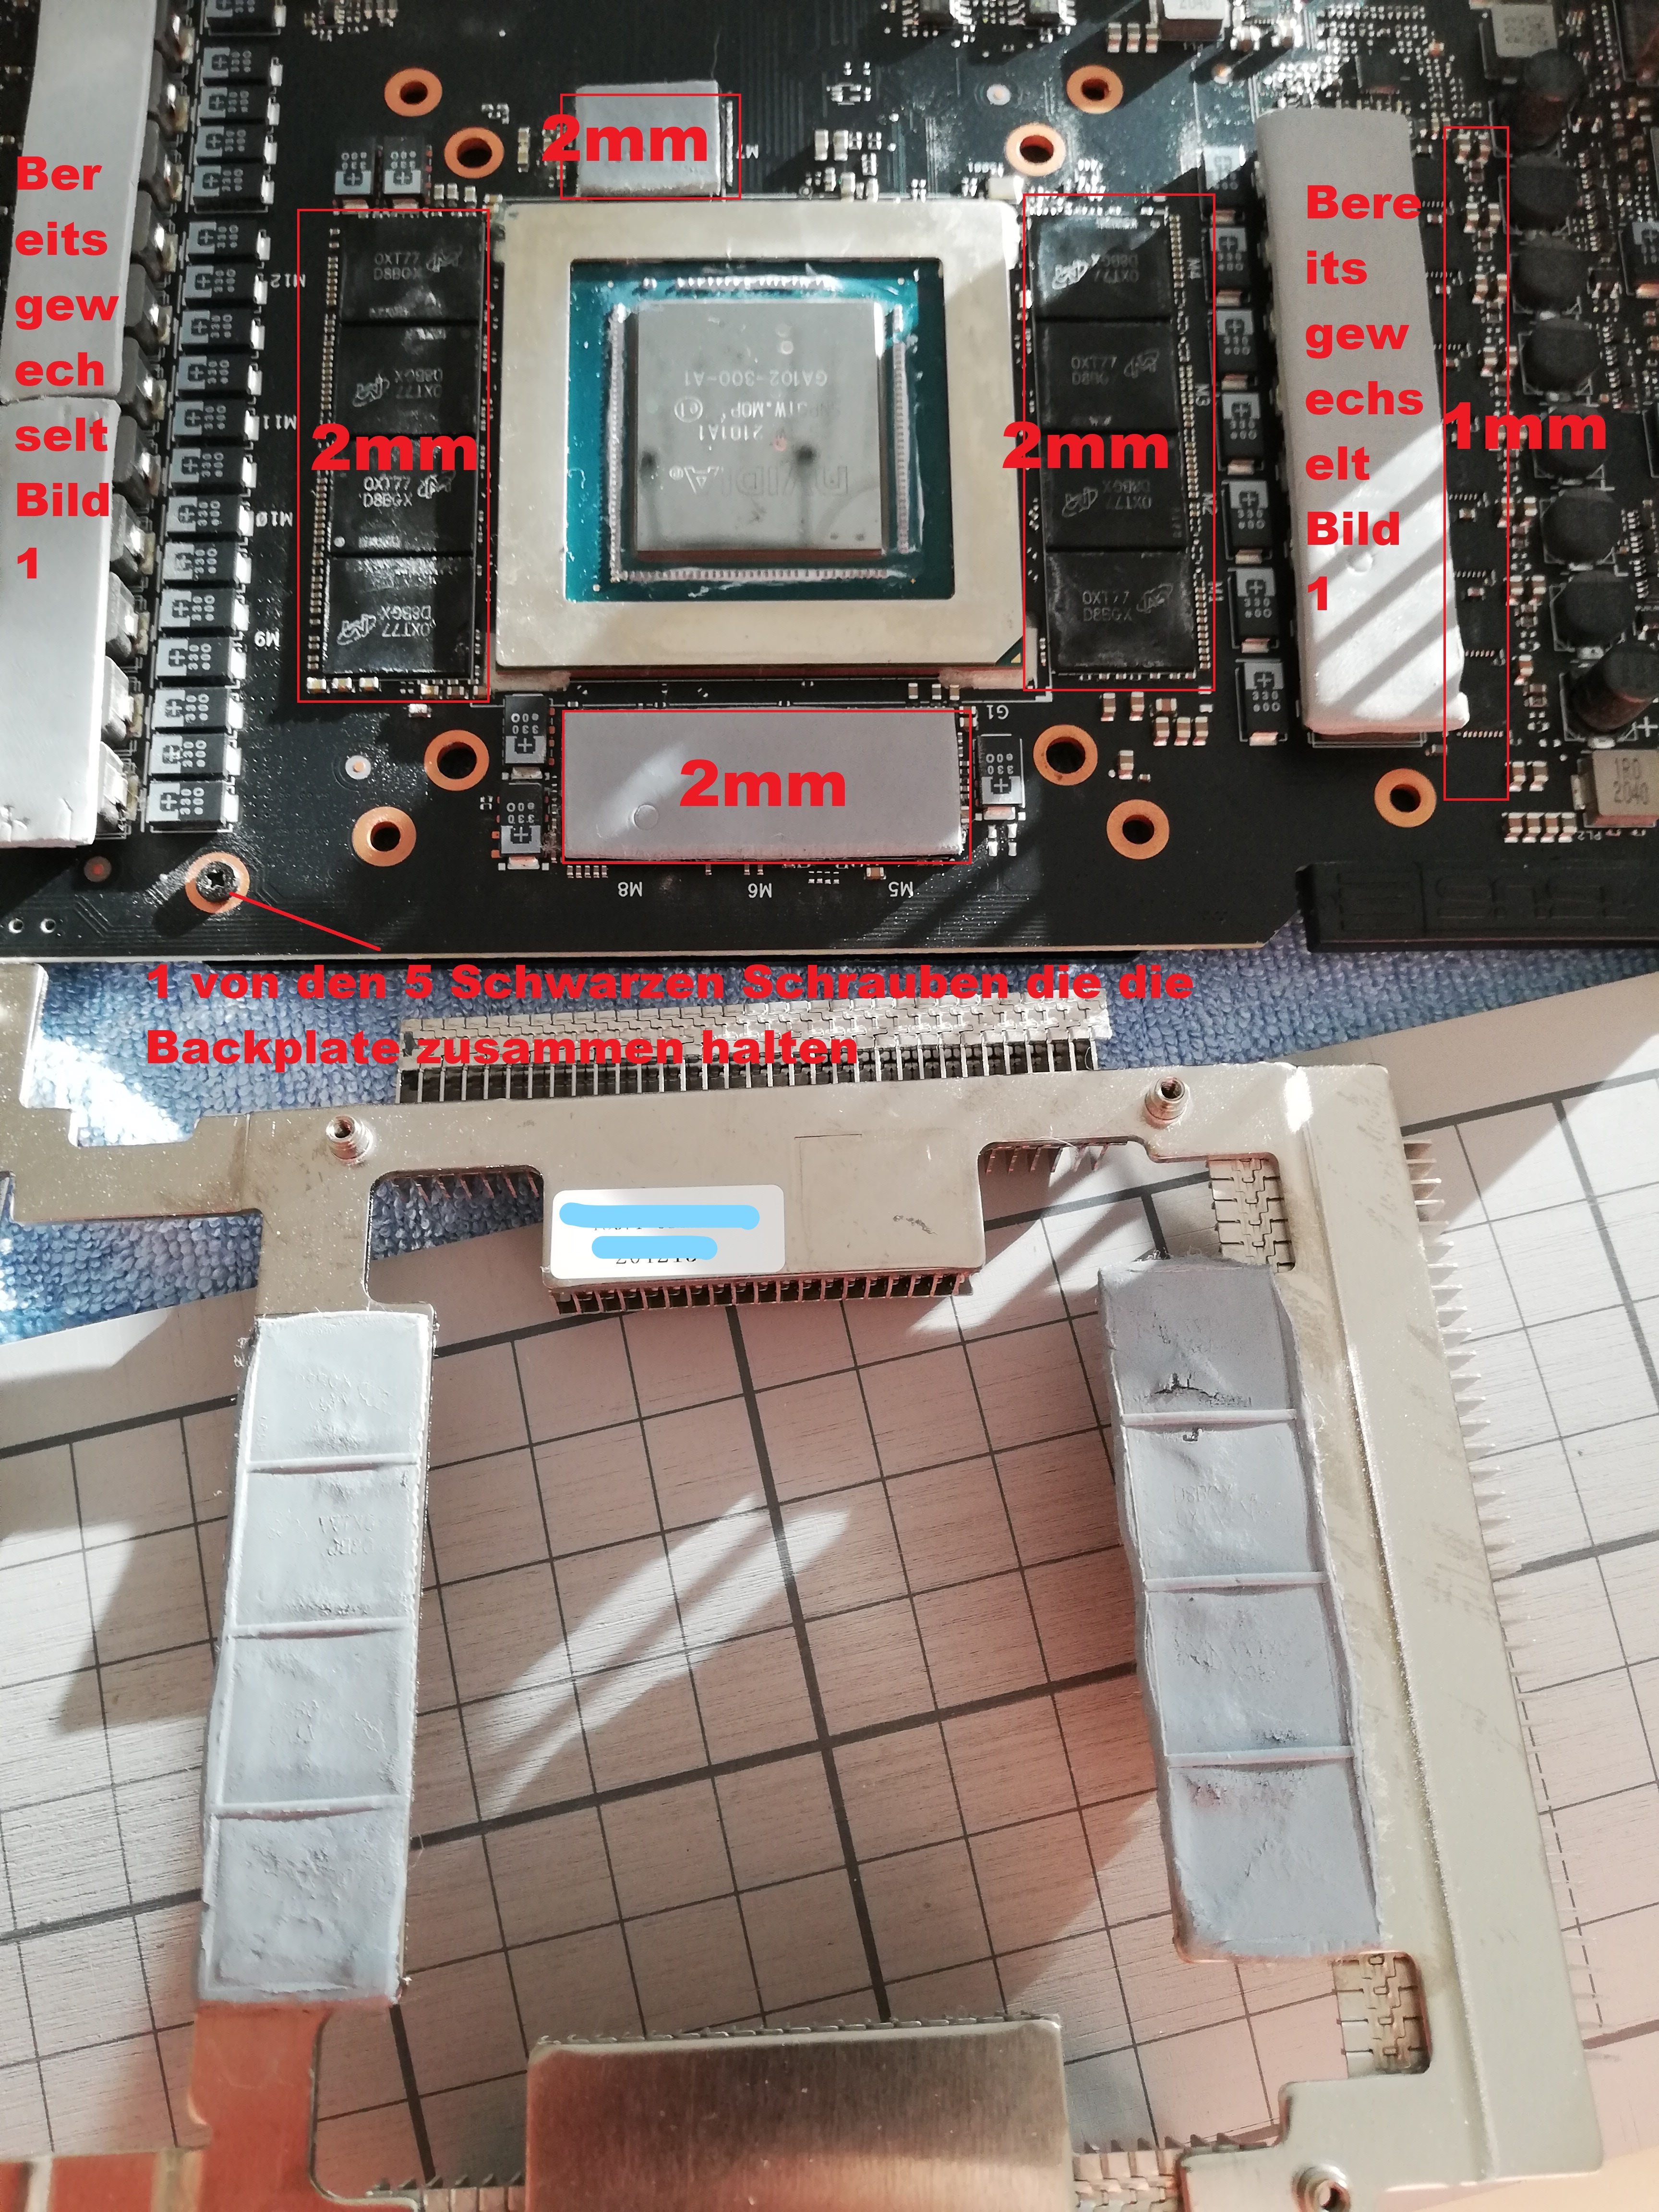
Now to the rear, which holds the back plate with 5 screws as before, I can only recommend patience and carefully lifting again and again, otherwise everything will break and you will have a lot of cleaning to do.
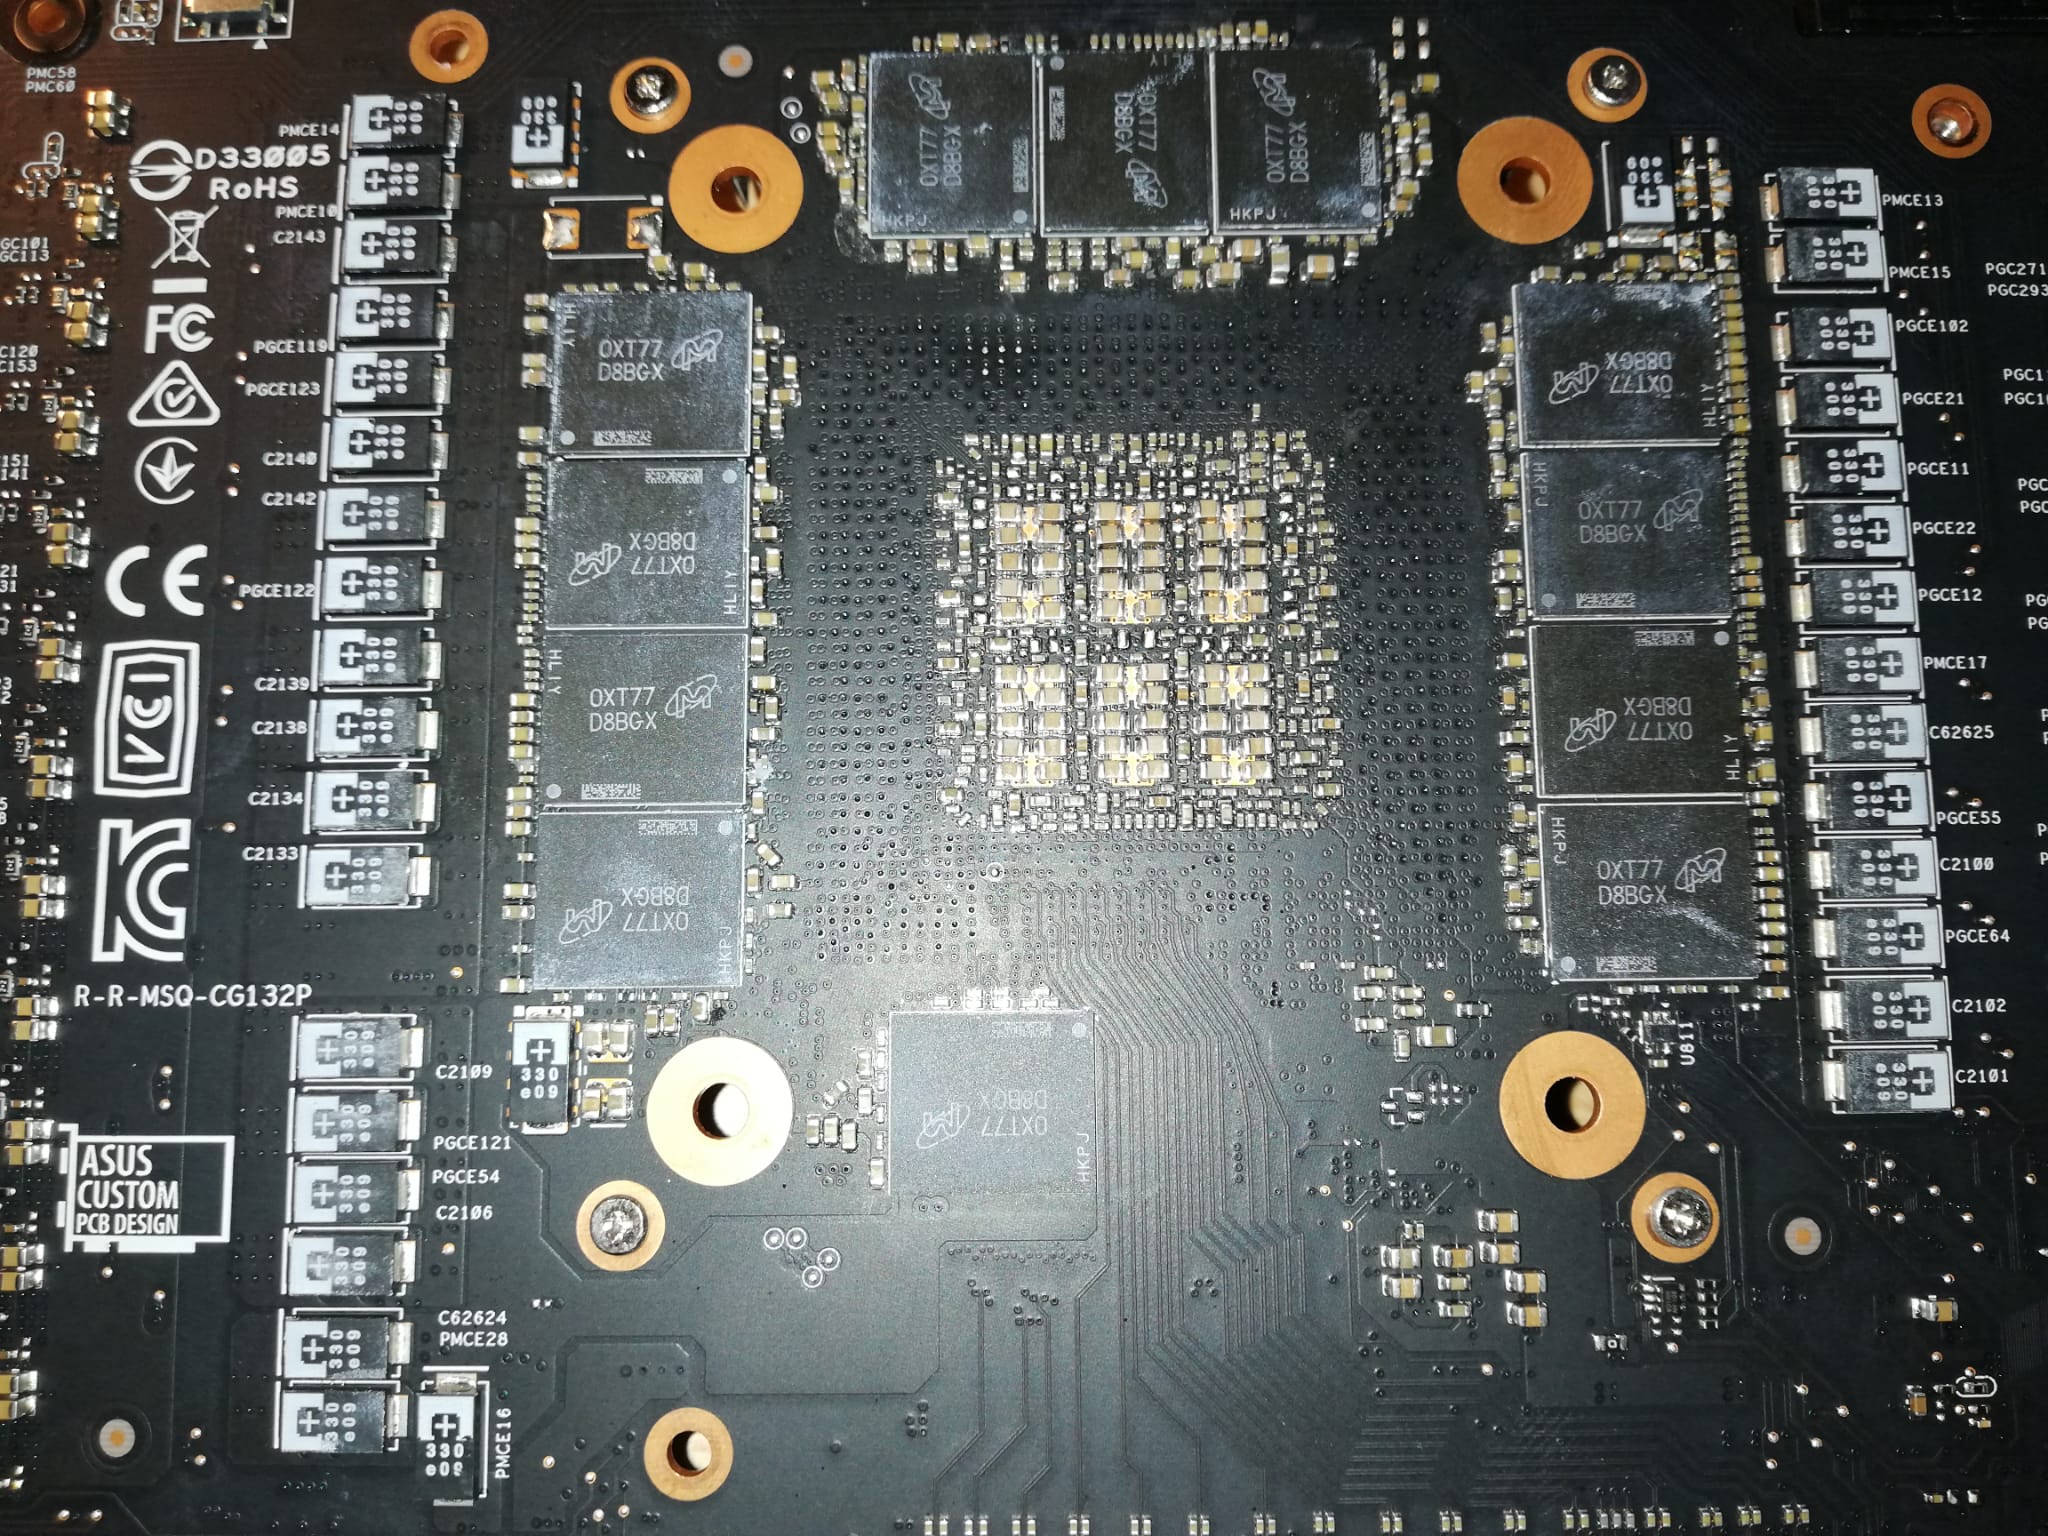
Also be careful when cleaning, as even a roll of kitchen paper can leave scratches on the “die” or other metal objects. No need to overdo it (as I did at first) if everything is smooth as glass now it doesn’t make any difference to temperatures, at least for me…
When cleaning with alcohol, not too much on the cotton swab and rather use a little more than spread the sauce back and forth ^^.
So now back to the back plate, many people write that 3mm pads are used there. This is where I got upset the most because it didn’t suit me at all. Lots of different heights, too much pressure, no real contact, everything that can go wrong at once.
So I had to realize after a few tries, mind you, chunks are the order of the day here and try because the pads weren’t as soft as standard pads. I don’t want to give any recommendations on thickness either, each one should measure and try for themselves, in the end I ended up with 2mm/2.5mm/1.5mm/1mm each, so pretty much everything was represented and there was a lots of tinkering…to get a relatively straight level and even contact pressure across all pads and components.
I’d see it as a bit of a hassle, especially with the Tuf having its coolest design.
Of course I can’t say that everything worked wonderfully, but in the end I’m almost 10 degrees cooler with memory junction temps in the 80 degree – 90 degree range with nice fans. Let’s see how the summer will be ^^
PS: Next the card will be equipped with Thermal Putty, maybe you will get better results there. But that still takes a bit, now I’m sick of screwing it on and off ^^.
These are the first pads you see:

Here after removing the cooler:

Here is the clean back plate that gave me the biggest headache ^^ in relation to the thickness of the pad.

Stock pads came out better than expected:

Where before you could see 96 degrees and higher, depending on the game and app, now in the mild range of 80 to 86 degrees.

So, in the end, I can say one thing for sure, be very patient with yourself in the “Repad” campaign if you haven’t been able to gain experience in it yet.
Someone with more experience would probably have achieved better results faster, but no skybender has fallen yet, I’m satisfied.
If anyone needs more information, let them take off their skin! Or some tips for me ^^
See you later and have a good week everyone!

Introvert. Beer guru. Communicator. Travel fanatic. Web advocate. Certified alcohol geek. Tv buff. Subtly charming internet aficionado.