Having all the information on our computer organized is essential and more so in these times where much of our daily life is reflected in the folders and files that are on the PC.
Organize files and folders
We can organize ourselves in several ways, but unfortunately the least powerful is the one that Windows offers us, since it is somewhat limited, especially when compared to certain third-party programs that exist right now.
On Windows 10
Organization in Windows 10 is limited to power manage files in each folder at the individual level, that is, if we change the organization of a folder, that does not affect the others.
When entering any folder and pressing the right button in an area where we do not touch any file or another folder, we will have several possibilities to organize it.
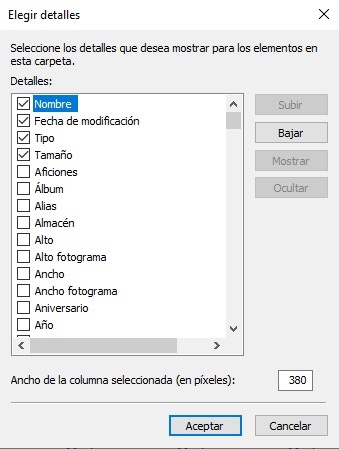
- Computer by: when entering this option we see that we can computer everything that is in the folder by Name, Date of modification, type, etc. And we will also have the possibility of it being Ascending or Descending. But we also see that it says More and if we click it will take us to a tab where we will have all the possibilities that Windows offers us to sort the files in a folder.
- Group by: in this case they will be grouped by what we choose, with the possibility that it is ascending or descending as well. To this we add the More section where we can choose another type of option to group that is not in the general menu.
These are the two options that Windows 10 provides us to order everything that is inside another folder, which as you can see is somewhat limited.
Third party programs
If we want to be more exhaustive and that our computer forms apply to the entire computer, we have no choice but to resort to third-party programs that we will have to install in our operating system.
Organize my files
This is software that is not only compatible with Windows, but also applies to Linux and macOS, with which we can automatically organize our files by different characteristics such as type or extension, size, date, etc.
The first thing we have to do is download it from its official website and nothing else is in our system to run it to start using it.
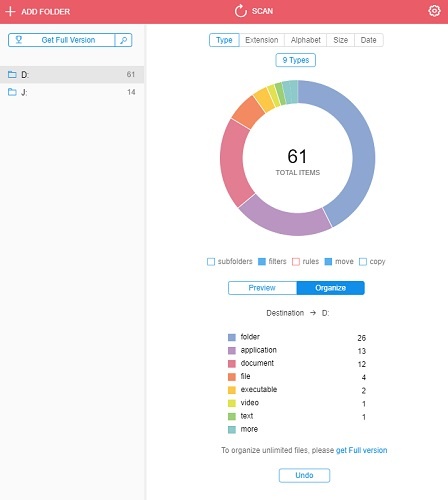
The first time it asks us for the unit or folder that we want to organize, depending on whether we want to do it at one level or another. but we can add other folders from the top left of the interface (+ ADD FOLDER) and that we will see how they are active just below, on that same left side.
In the central right part we see a pie chart in which we can see the types of files or folders that make up said unit, distributed by colors and with the specification of what each one of them is at the bottom, in addition to putting how many of each type it has detected.
The operation is so simple, since, once we have decided and marked the type of option we want to organize everything in that unit or folder, we click on the button Organize and automatically the tool will take care of immediately moving all the files of that type, size or date, as we have chosen, to a folder within the original location of the files.
Labelled
As is evident to be able to use Tagging we must download it and run it on our computer, but what we will see is that it is not a program itself, but a new panel for Windows Explorer called Hashtag.
Once this program is installed, it will ask us for a licence key, which we must request completely free of charge at the following link. We will only have to put our name and our email, to receive a first email to confirm the email account and a second message in which they will include the key to activate the program.
The way to work the first time is simpler than it might seem a priori:
- Thanks to this program, when we enter a folder that we want to order, we must first mark those files that we want to label.
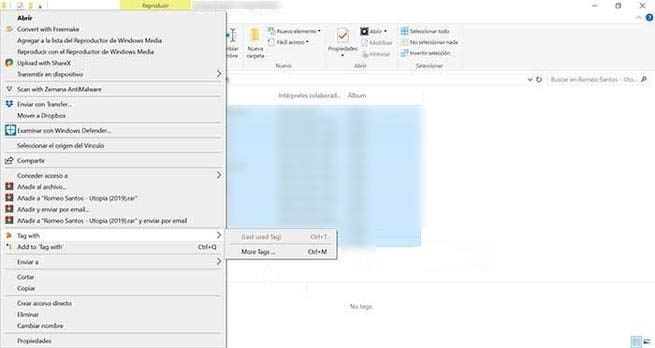
- Then, by clicking on the the right button of the mouse, as we did in the native form of Windows 10, we will see how a new option appears called Tag with.
- By clicking on this option we will have to click on More labels and then a pop-up window that it’s called Select tag.
- Then we must right-click on the word Tags and the option will appear New tag group, where we will create our tag group.
- With the right button we click on the group and create a new label and then click on Apply or we can select a new tag for the files we have marked.
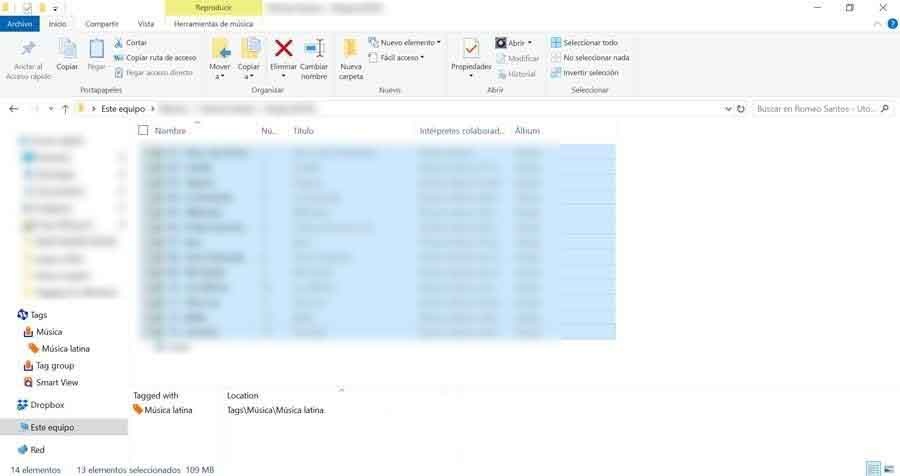
Once this is done we will verify that in the label panel that previously had nothing, now the name with which we have labeled those files, so every time we need to use this tag, we only have to select it from the context menu without having to create it.
The best of all is that each file or folder can have more than one label, so that way it will be easier to organize all the ones we have on our computer, which today is a lot of information given the huge storage media that exist.
Surely with everything we have told you today you will be able to sort all the folders and files that your computer has in order to have everything more at hand and ensure that nothing is lost in the large storage systems that we have today, where the information is a lot.

Introvert. Beer guru. Communicator. Travel fanatic. Web advocate. Certified alcohol geek. Tv buff. Subtly charming internet aficionado.


